Canvas
Canvas is an infinite board inside NoteKub: draw by hand, place notes and shapes, connect them into a diagram, drop editor blocks straight onto the board, and export what you built.
Open a canvas and move around it
Create one from New page, or add it under any existing page. A canvas saves like every other page, and in a Cloud workspace it syncs to everyone on it.
The toolbar is grouped by what a tool does — move, make marks, make shapes, place things, then undo and redo. On a narrow screen it scrolls instead of hiding half the tools behind a menu.
- 1.Hold Space and drag to pan, or press H for the Hand tool.
- 2.Hold Cmd/Ctrl and scroll to zoom, or pinch on a trackpad or touchscreen.
- 3.Press Shift+1 to fit everything on the board into the screen.
Draw, and rub out
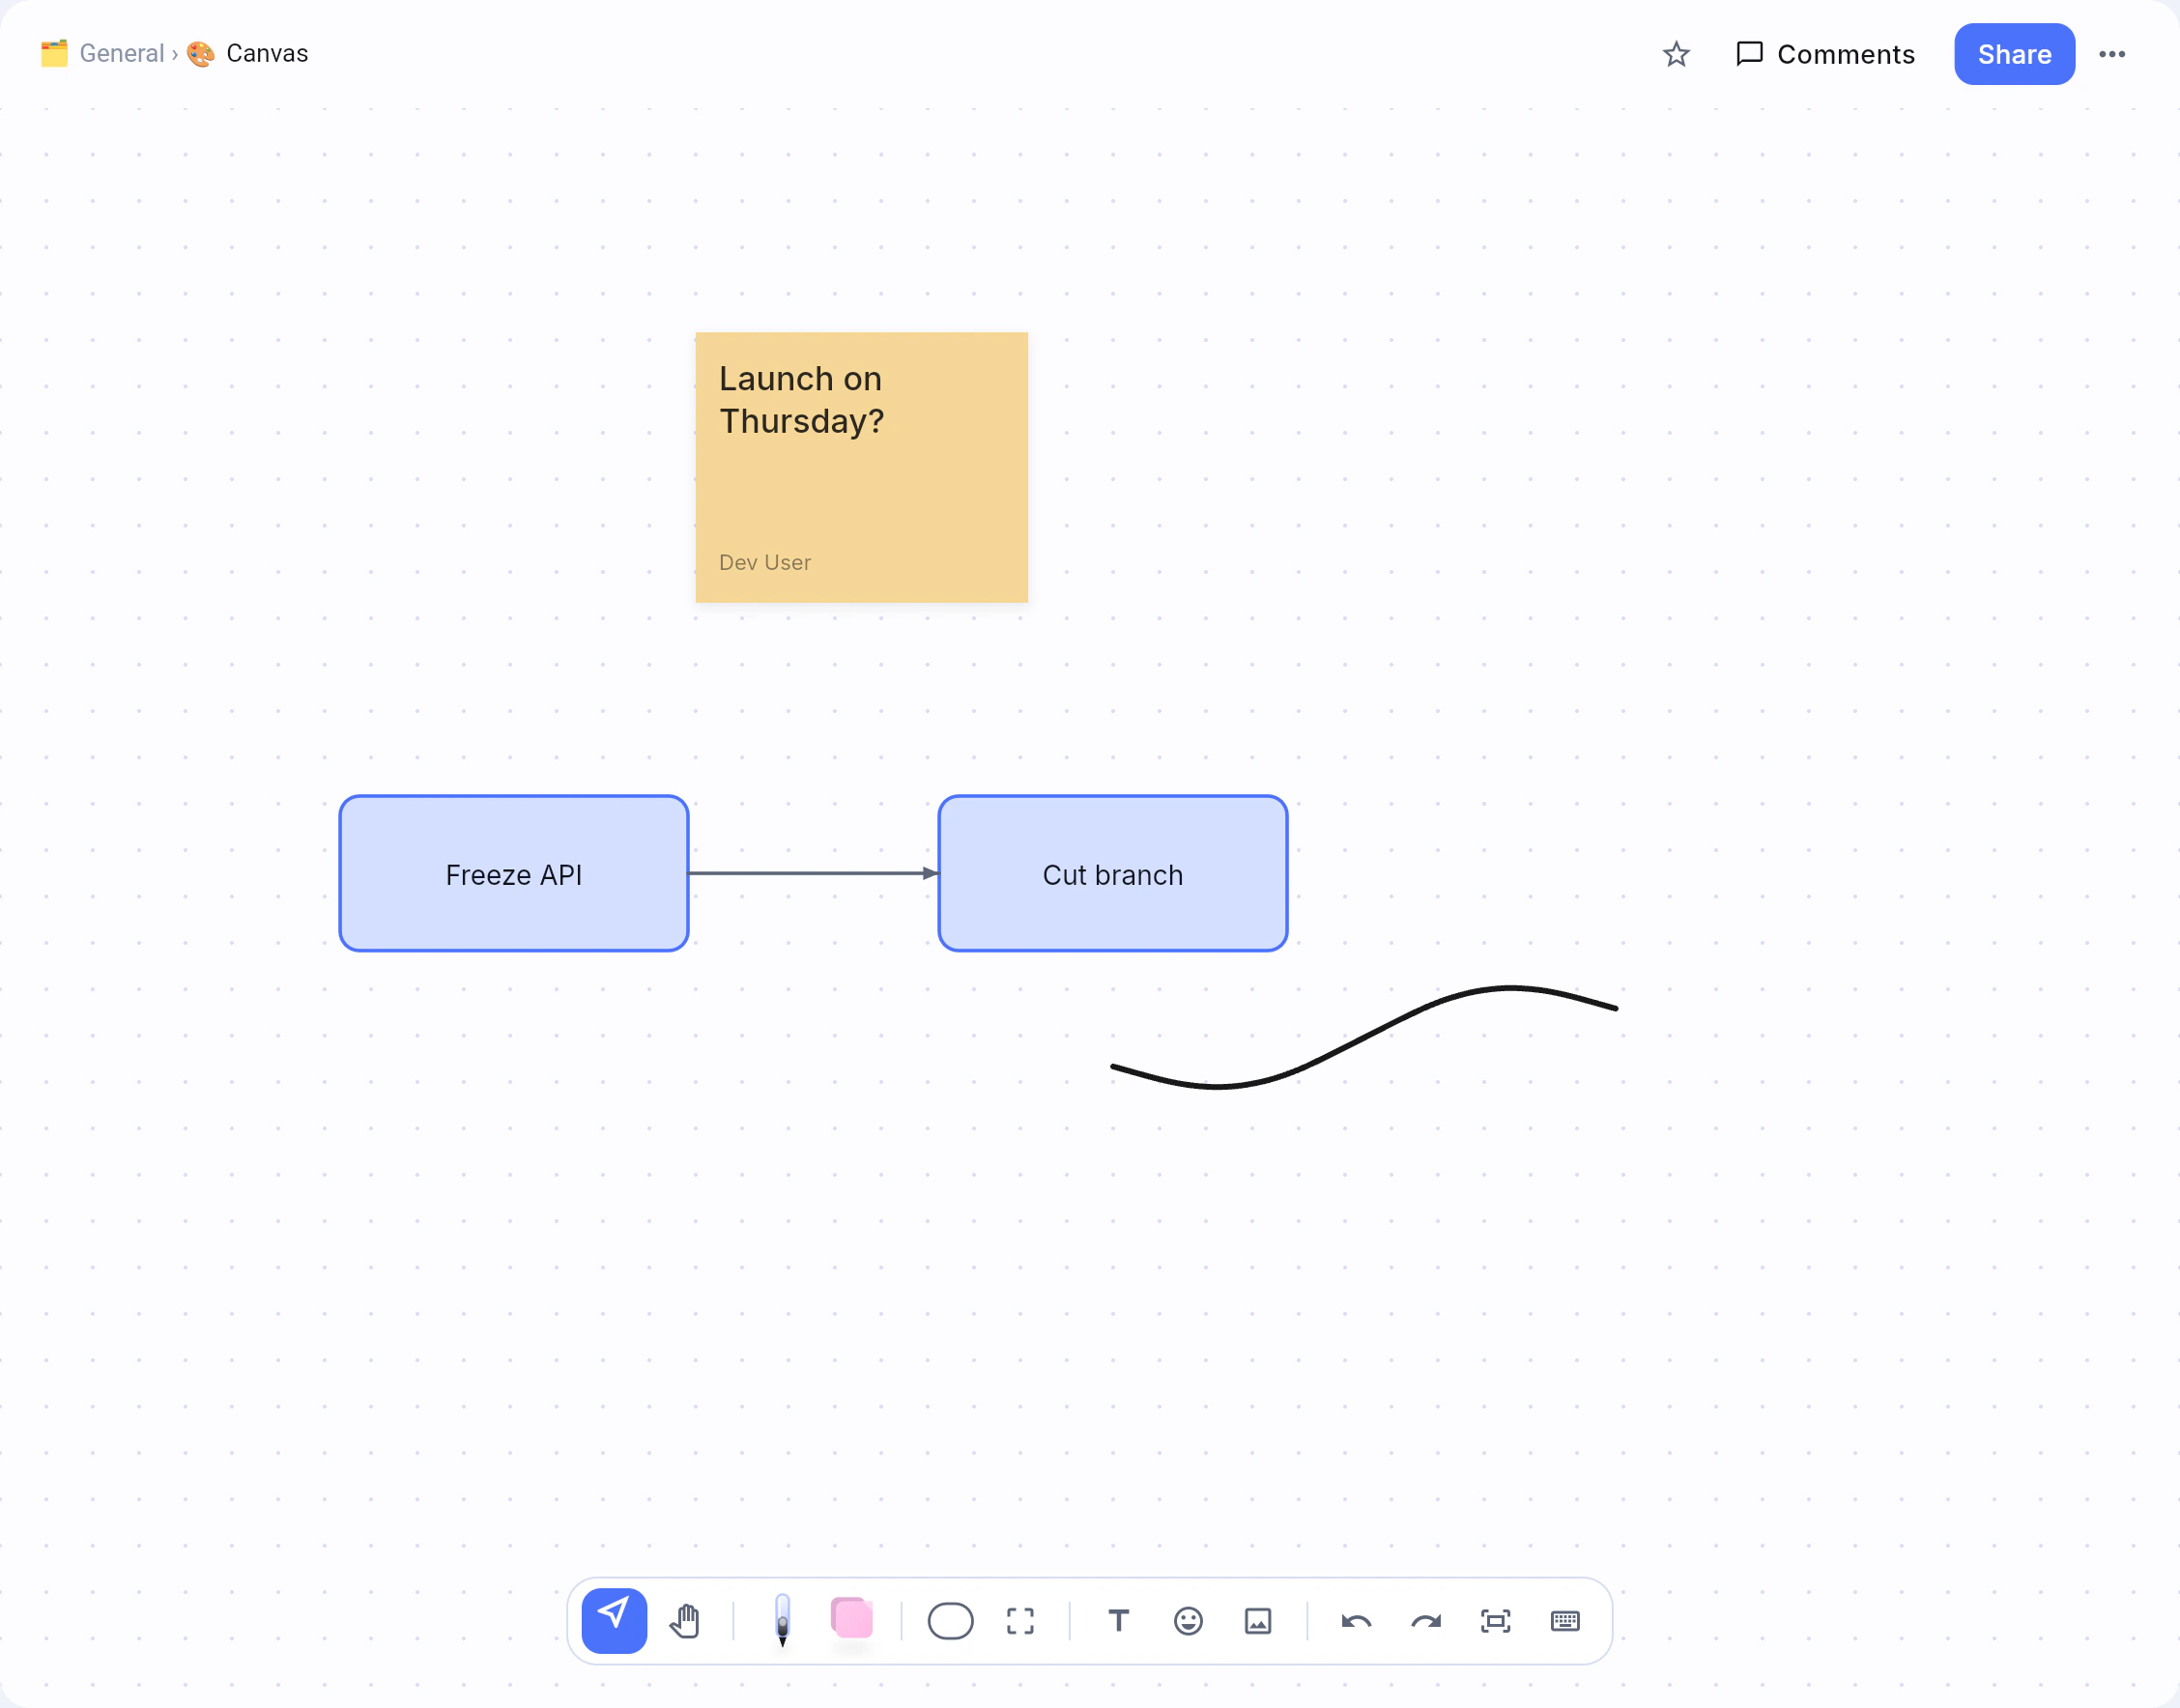
Pen, eraser and highlighter share one tray, so reaching the eraser and coming back is a single tap either way. Pick the nib first, then a colour and a weight — page ink plus five colours, and two line widths.
Hold Shift while drawing, before the stroke or part-way through it, and the line runs straight from where it began to the pointer, snapped to the nearest 15 degrees. Let go of Shift and the freehand path comes back. A stylus is read for pressure and tilt, a resting palm is ignored, and flipping the pen to its eraser tip erases without changing tools.
- 1.Press P for the pen or M for the highlighter.
- 2.Press E for the eraser, then choose Whole stroke or Partial and one of four eraser sizes.
- 3.Hold Shift while you draw to constrain the line.

Place notes, stamps and images
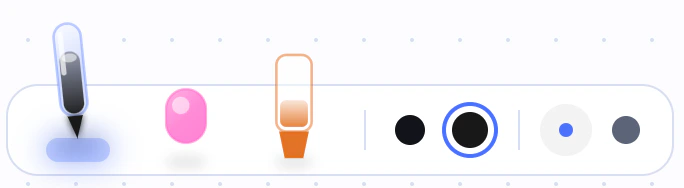
Sticky notes, text, frames, stamps and images are placed rather than drawn. An empty sticky says what to do with it, and in a Cloud workspace it carries the name of whoever wrote it along the bottom — stamped when the note is made, and left alone by later edits.
A frame divides the board into areas and owns whatever sits inside it, which is what makes a frame the unit worth exporting on its own.
- 1.Press N for a sticky note. Select a note and its bar offers Comment and Change color; Change color opens eight paper colours and a + for any other.
- 2.Press T for text, or G for a stamp.
- 3.Press F for a frame, or use Image in the toolbar to bring in a picture.

Select, arrange and undo
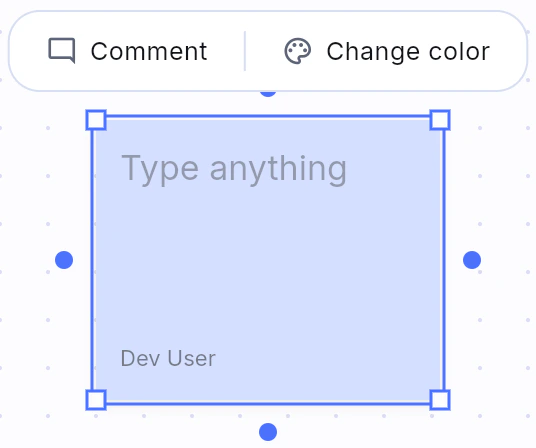
Select is the tool everything else goes through. Click one object or drag a marquee around several, then move them, resize from a corner, duplicate, or delete. Alignment guides and snapping appear while you drag, so a board stays readable without anyone tidying it by hand.
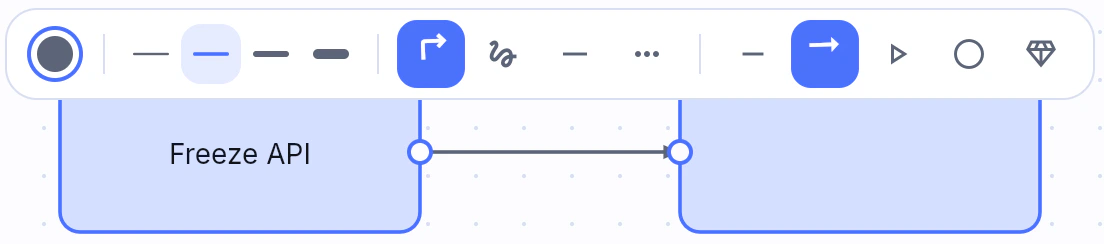
Selecting one object floats its own controls just above it — a shape offers its kind and its fill colour, a line offers what a line has, and anything you can comment on offers Comment. There is no rotate handle: rotating would have distorted four of the five kinds of element on a board, so it was removed rather than left as a control that quietly does the wrong thing.
- 1.Press V for Select, then click an object or drag a marquee.
- 2.Press Cmd/Ctrl+A to select everything on the board, or Enter to edit what is selected.
- 3.Use Cmd/Ctrl+D to duplicate, Delete to remove, Cmd/Ctrl+Z and Cmd/Ctrl+Shift+Z to undo and redo, and Cmd/Ctrl+C and Cmd/Ctrl+V to copy and paste.
Shapes and lines
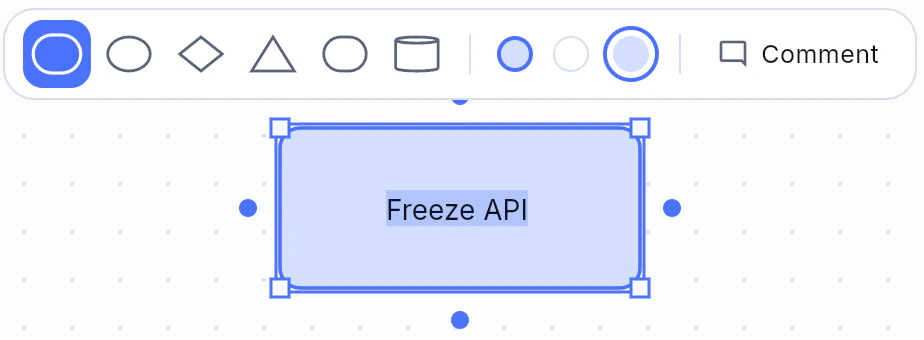
Shapes and connectors share one slot in the toolbar, because on a diagram they are the same job. Opening it gives three connector routes — an elbow that turns square corners, a curve that sweeps, and a straight line — then the shapes worth a permanent place: rectangle, ellipse, diamond, triangle, pill and cylinder. More shapes opens a searchable picker of thirty.
Select an object and four round dots appear just outside its edges. Drag one out to draw a connector, and drop it on another object to join the two. Drop it on empty board instead and you get another object of the same kind, size and colour, already connected — pull from a rectangle and you get a rectangle, not a sticky note.
- 1.Press S or X to open Shapes and lines, then pick a route or a shape.
- 2.Drag on the board to place a shape at the size you want.
- 3.Click a line to select it — a connector shows two round ends instead of a resize box, and dragging one end re-attaches it while the other stays put.

Put document blocks on the board
Press / on the board and the page's own insert menu opens — the same menu a document page uses, placing a real editor block where you are pointing. Headings, lists and tables on a canvas are the blocks the editor renders, not a picture of them.
Pasting works too. A single line of plain text lands as a sticky note; anything longer, or anything carrying Markdown, lands as a card of editor blocks under the pointer.
- 1.Press / where the block should go, then choose a block.
- 2.Or copy text or Markdown and press Cmd/Ctrl+V.
- 3.Click into what lands and type — it runs the editor inside itself.
Collaborate, comment and export
In a Cloud workspace a board is a shared document: everyone's edits merge, live cursors show who is working where, and two people drawing over each other keep both strokes. A Local workspace keeps the board on the device instead.
Comment on a single selected object and the thread anchors to it, travelling with the object and showing as a pin on its corner. Someone with comment rights but not edit rights gets a smaller toolbar — Select, Hand, Stamp and Fit — so they can react and vote without drawing on the board.
- 1.Select one object, then choose Comment from the controls above it.
- 2.For an export, choose the scope first: the whole board, only the selection, or one frame.
- 3.Export as PNG, SVG or Markdown.